What is Authentication Context?
Authentication Contexts are being used to further secure your application data and actions. You may already have enabled Multi-Factor Authebtaion in your Azure AD tenant and everyone is using the MFA in the same way. However, imagine you have an application where you need to maintain confidential data that only a handful of users are allowed to access. Authentication Contexts can be used to manage these types of scenarios. Auth Context is always connected to a Conditional Access Policy that has specified Strong Authentication methods where standard Azure MFA is not enough.
The same can be applied to Azure AD Privileged Identity Management scenarios.
What I will be covering?👇🏽
- What is Authentication Context?
- What controls does PIM already have?
- Why This is Important?
- Ingredients
- What Will Happen During the PIM Role Activation?
- Configure Phone Sign-in Steps to be Passwordless Ready
- Sign-in Logs
- Wrapping Up
What controls does PIM already have?
Privileged Identity Management already has the option to enforce Azure MFA when you go to the specific role settings. This will make sure MFA will trigger when elevating permissions.

Why This is Important?
Authentication Context is important when you need to set more granular controls over the Azure AD Roles on top of the MFA control that you already have. You can start using STRONG AUTHENTICATION methods and doing so will keep your role elevation more secure.
What are Azure AD Authentication Strengths and how to configure them? Check the below writing of mine which I posted some time ago.
Ingredients
- A Strong Authentication method
- Authentication Context setup
- Conditional Access Policy
- Configure PIM Role
A Strong Authentication method
I will be using Passwordless authentication as my Strong Auth method and will add it to the PIM controls.
Configure Passwordless
To configure Passwordless, you have to go to Entra Portal > Protect & Secure > Authentication Methods
Select Microsoft Authenticator >
Select Enable > Add User Groups whom you need to enforce this method


Once you have done that part, you have completed the Strong Authentication setup
Setup Authentication Context
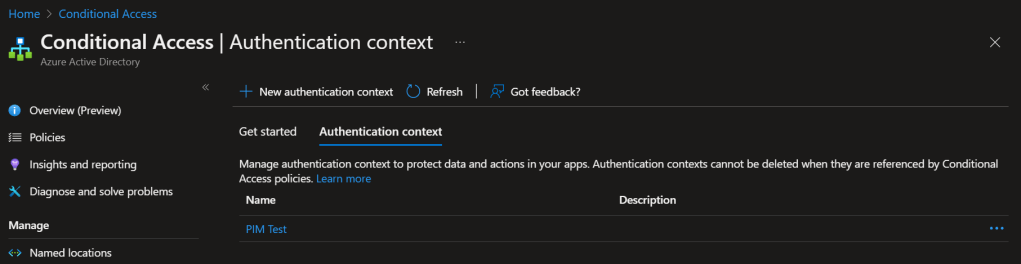
Create your Authentication Context by going to the Entra Portal > Protect & Secure > Conditional Access > Authentication Context
This will act like a tagging for your PIM and it will know what Conditional Access to present.

Conditional Access Policy With Stong Auth and the Auth Context
Create your CA policy, but by selecting the below options.
PIM Test is the Authentication Context we create above
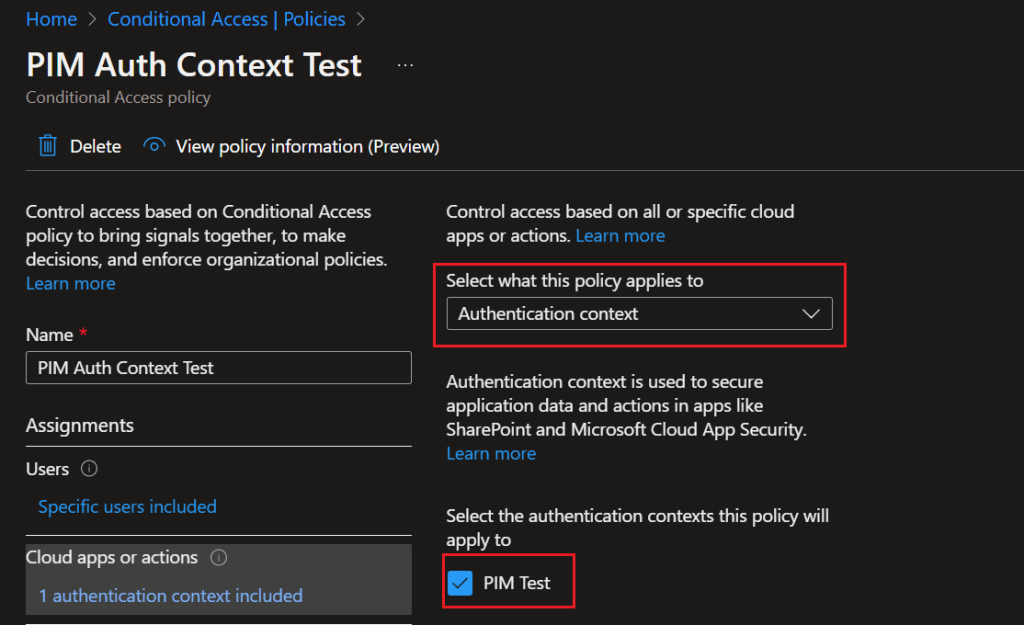
Now that the Cloud apps or actions section is done, move to the Grant section
Select Passwordless MFAunder the Require authentication Strength option

Configure PIM Role
This is where everything we did earlier comes together. Imagine you need to setup PIM controls over an Azure AD Role.
This can be configured to a PIM-activated group or to a Role itself.
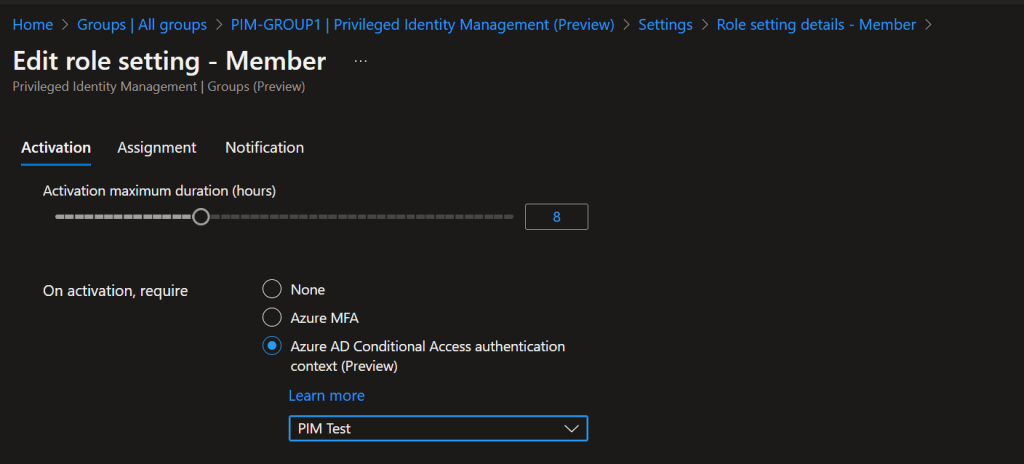
For a Group
Go to the Privileged Identity Management section of the Azure AD Group > Settings > Select the user role (Member or Owner) > Edit > Select Azure AD Conditional Access authentication context (Preview) > Select the Auth Context Name > Select Update
You can do the same to any individual Azure AD role by going to
Entra Portal > Roles & Admins > Roles and administrators > Select the Role > Settings > Edit
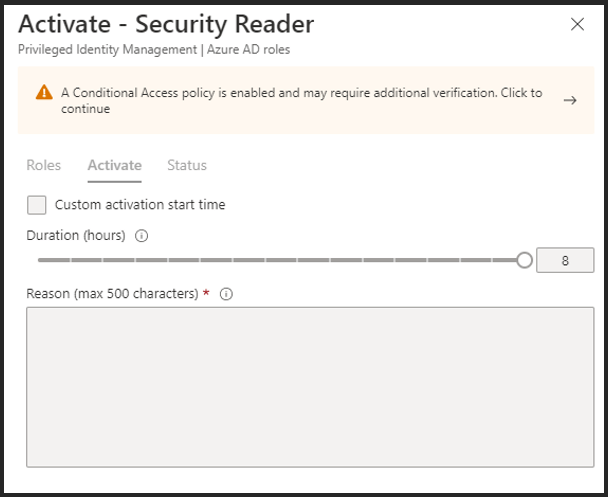
What Will Happen During the PIM Role Activation?
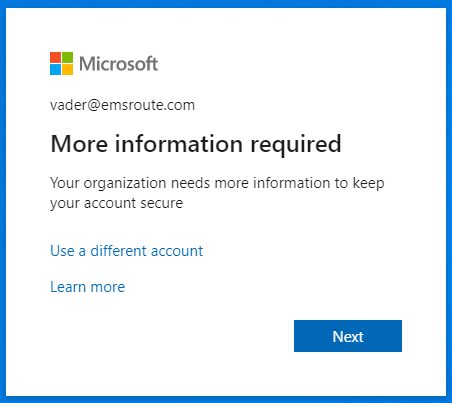
When you are going to activate the role, you will see the alert A Conditional Access Policy is enavled and may require verification. Click to continue
Click on the alert.
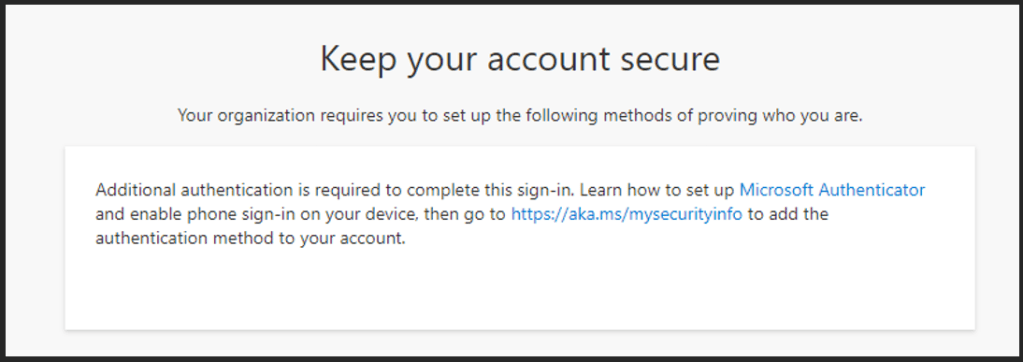
Once clicked, it will check if you have already enabled the configured Strong Auth method. If not, you will get the below message.
In this way by going through the registration steps, you can setp your Microsoft Authenticator App.
What happens if the Strong Authentication method – Passwordless in this case, is not configured by the user?
They will get the below message when they are trying to complete the authentication steps.
Configure Phone Sign-in Steps to be Passwordless Ready
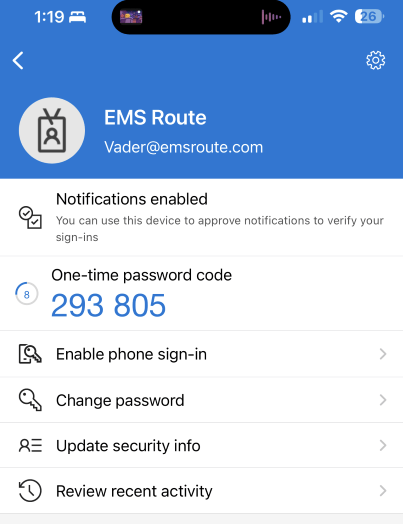
By now, you may have already configured the Microsoft Authenticator App for MFA for this account.
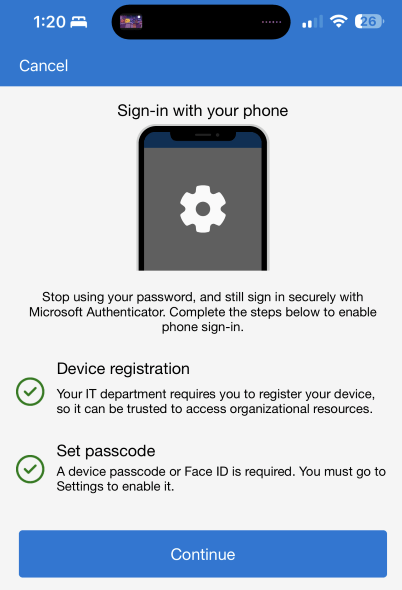
Go to the account in the app and select Enable phone sign-in option
Press Continue and Phone Sign-in configueration process will be completed
During Successful PIM Role Activation, User will see the below Number Matching in the phone as it’s now going through the Strong Auth method Passwordless.
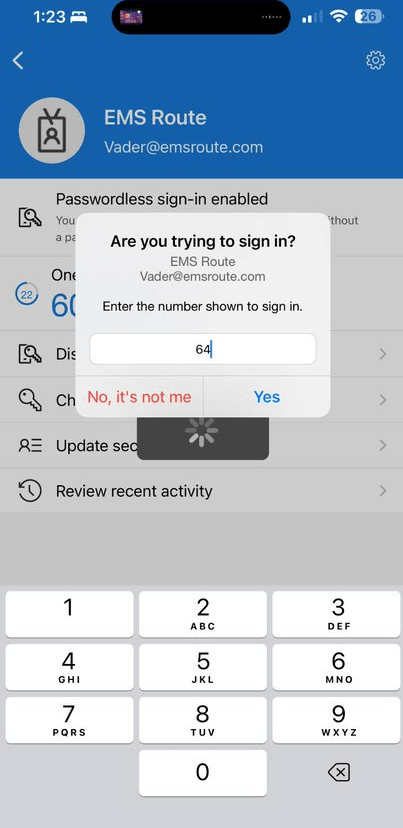
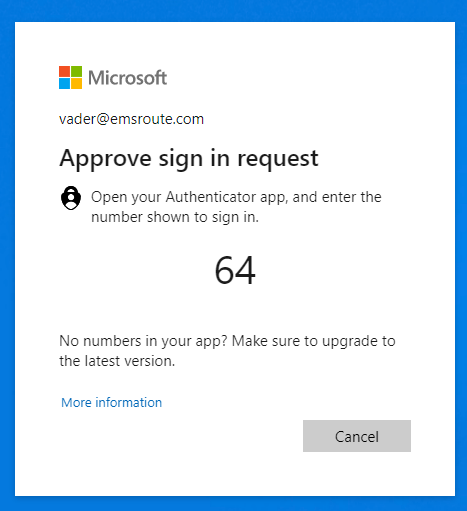
Once completed, user will now have access to the intended Azure AD Role
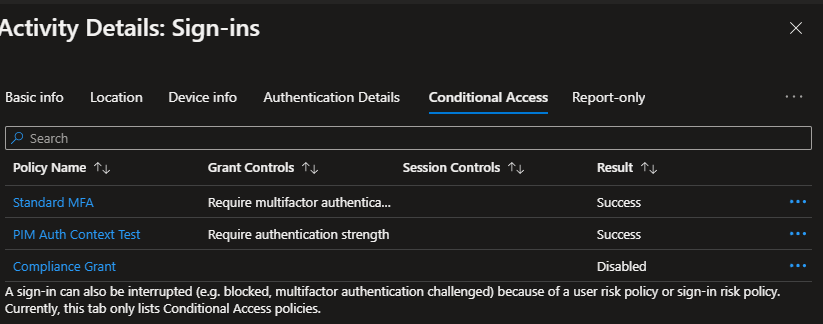
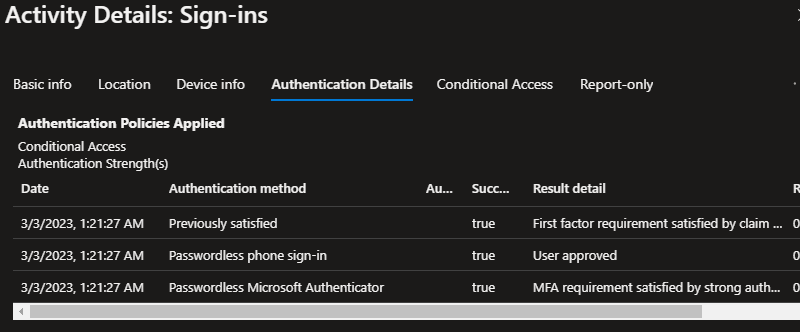
Sign-in Logs
Sign-in Logs can be checked as below.
This will show whether the Grant Controls of Require authentication strength has been triggered during the elevation
Wrapping Up
Enabling Strong Authentication on elevation will give you that added layer of protetction and a good way to protect the Azure AD roles which is vital to the whole cloud infrastructure.
Discover more from EMS Route
Subscribe to get the latest posts sent to your email.

4 thoughts on “Use Authentication Context with Strong Auth on PIM Role Activation”